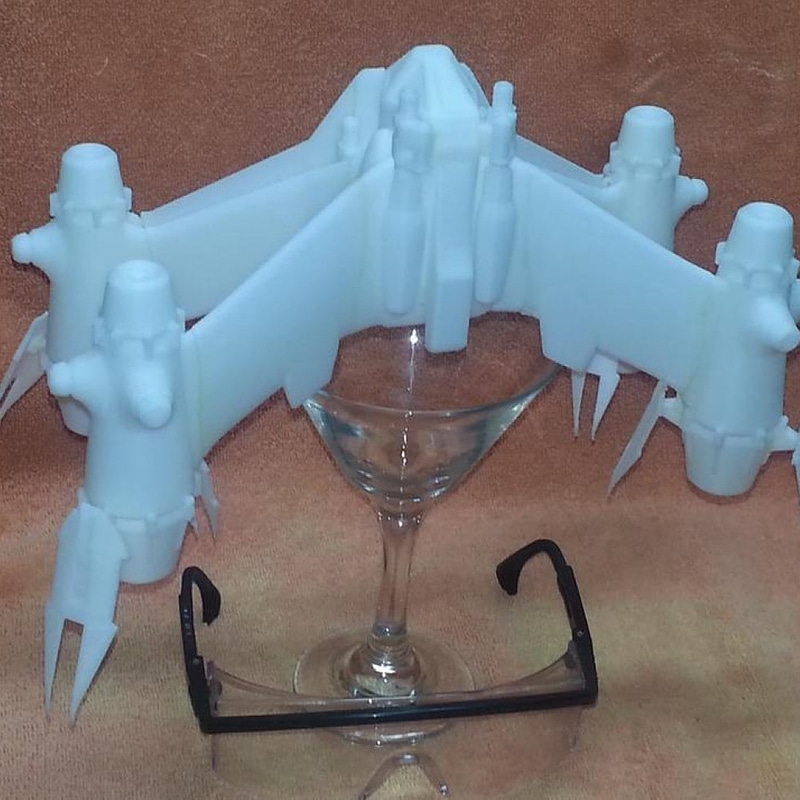
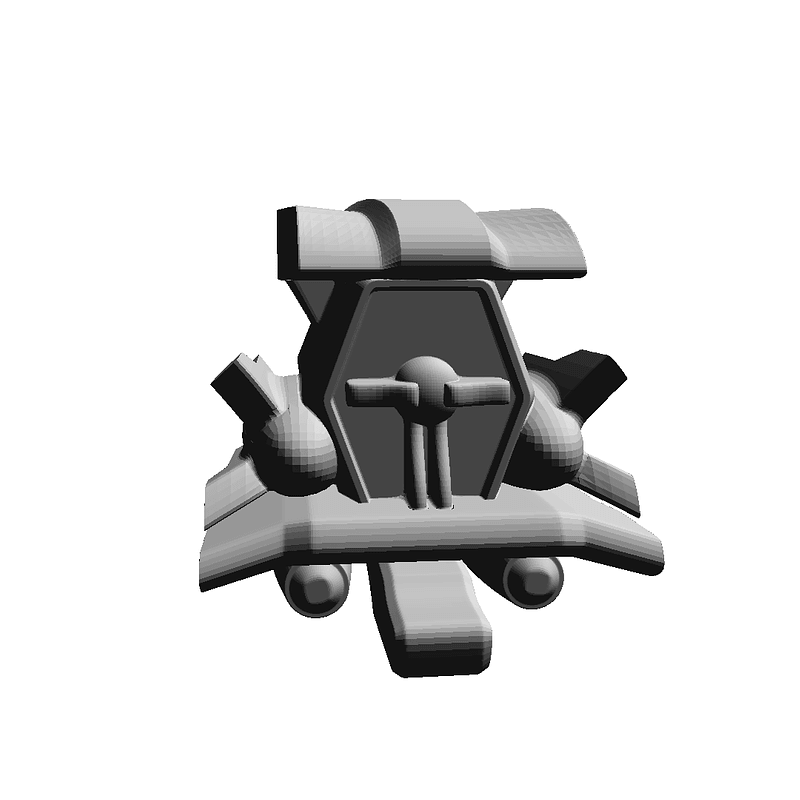
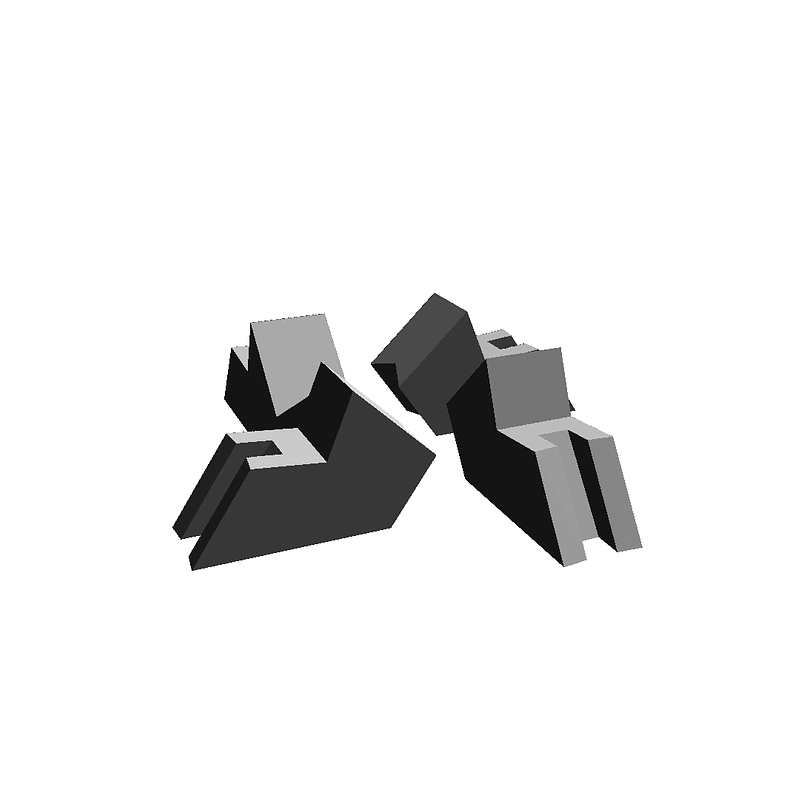
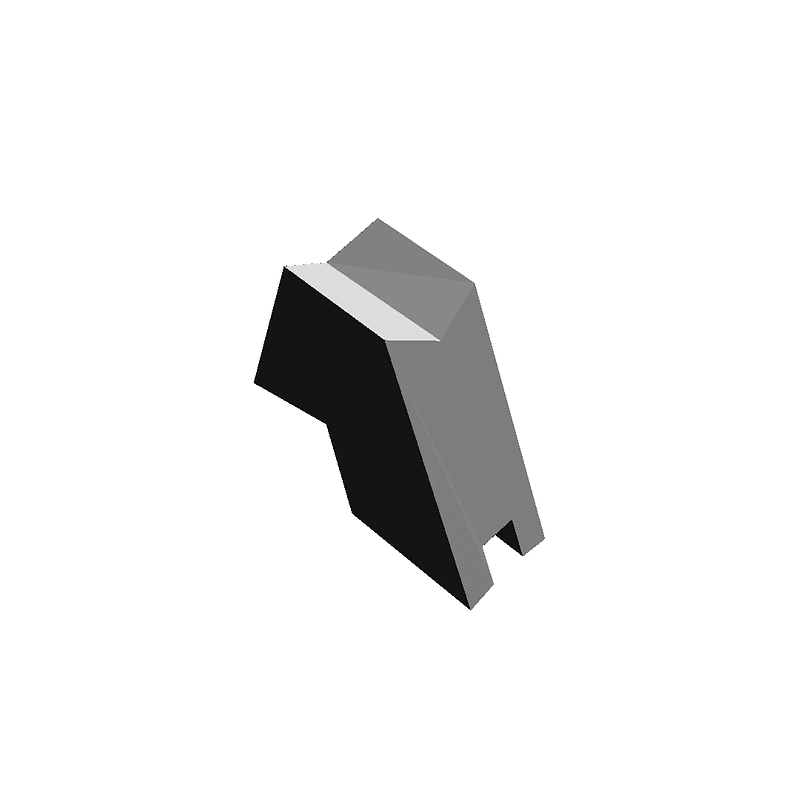
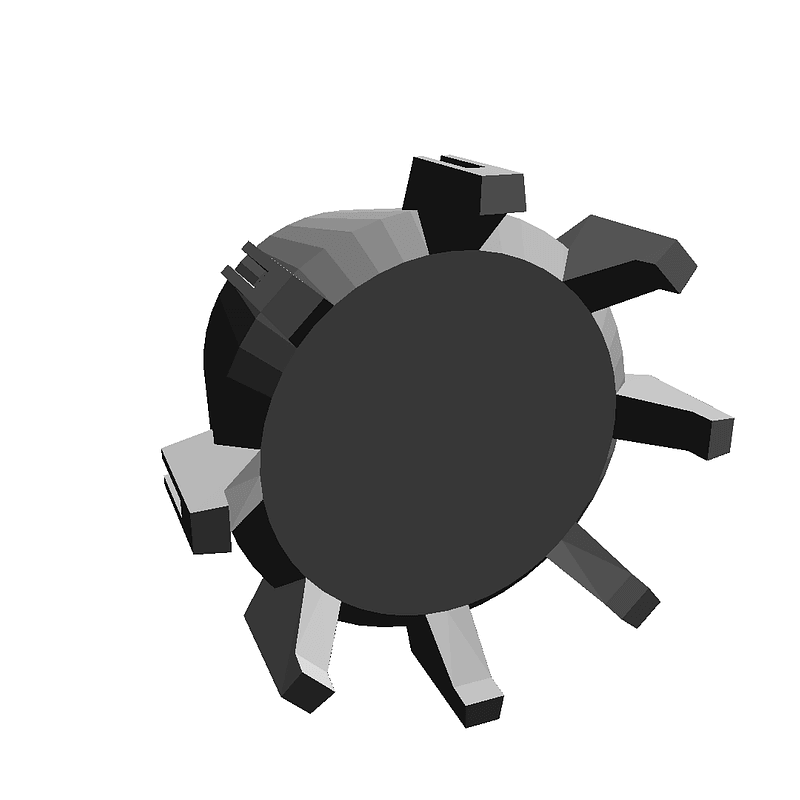
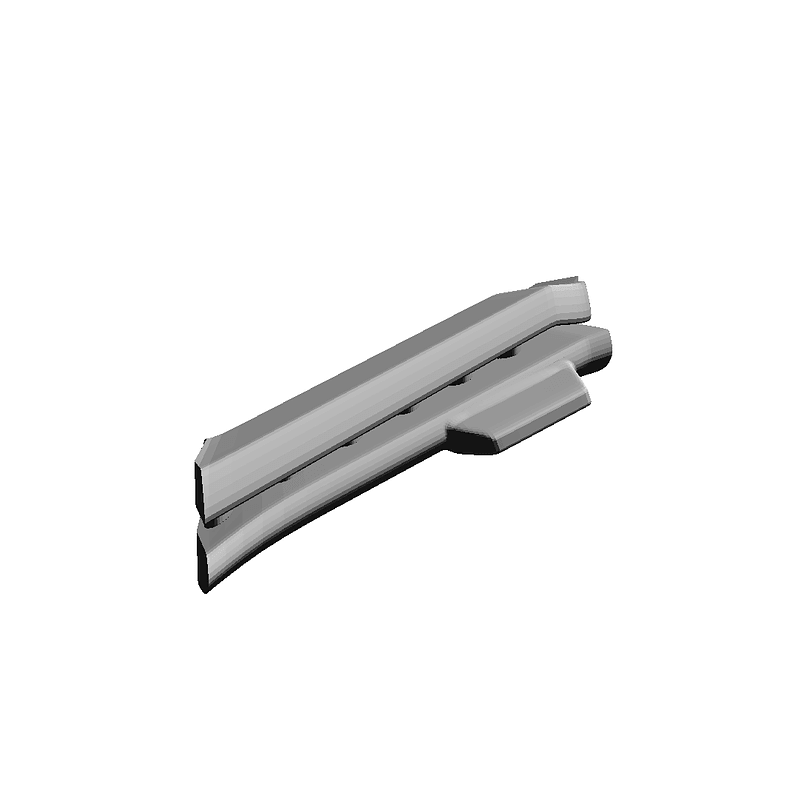
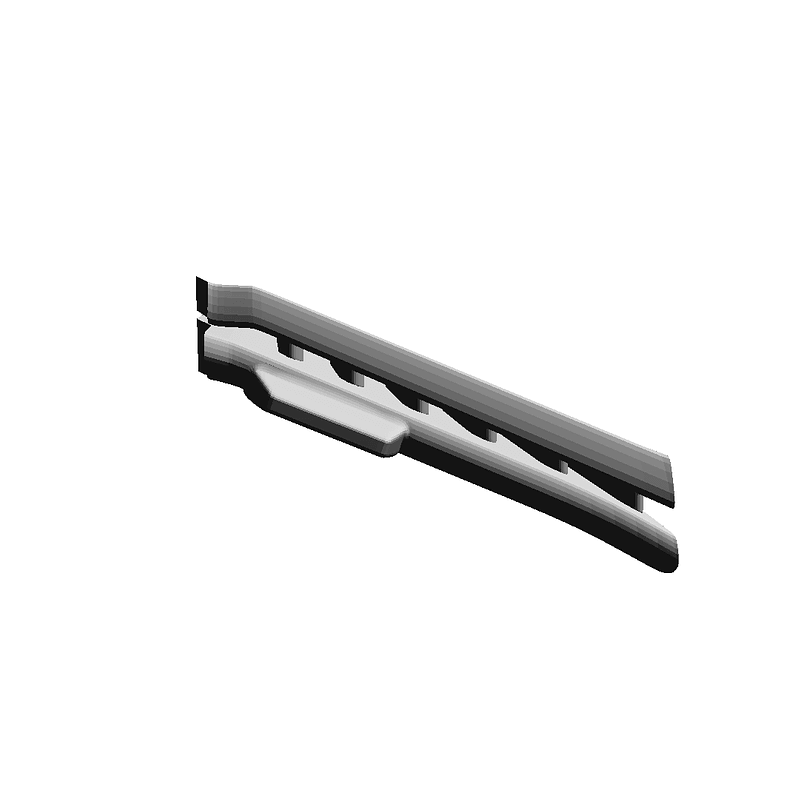
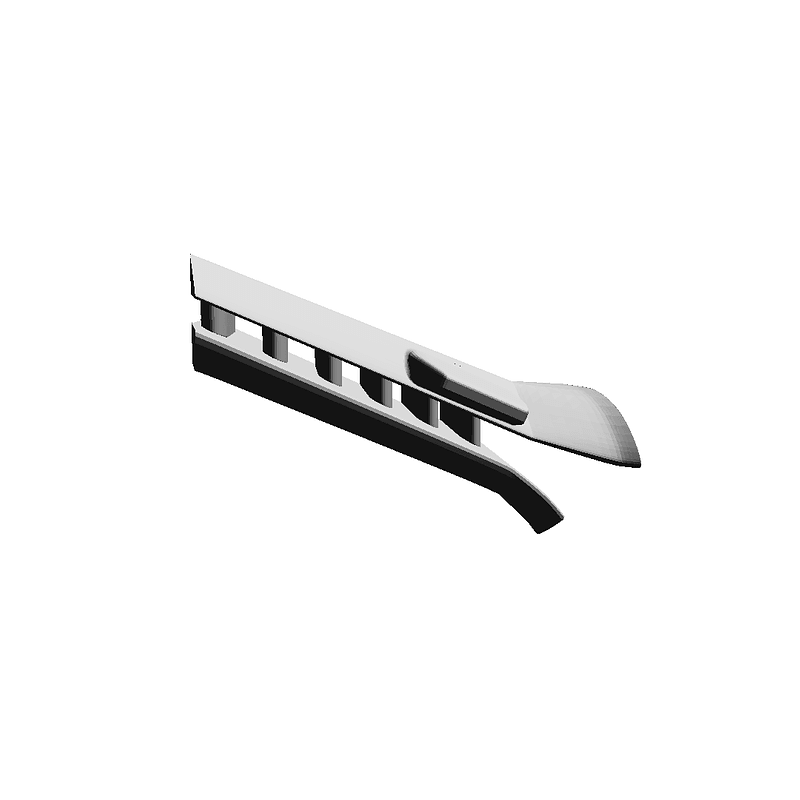
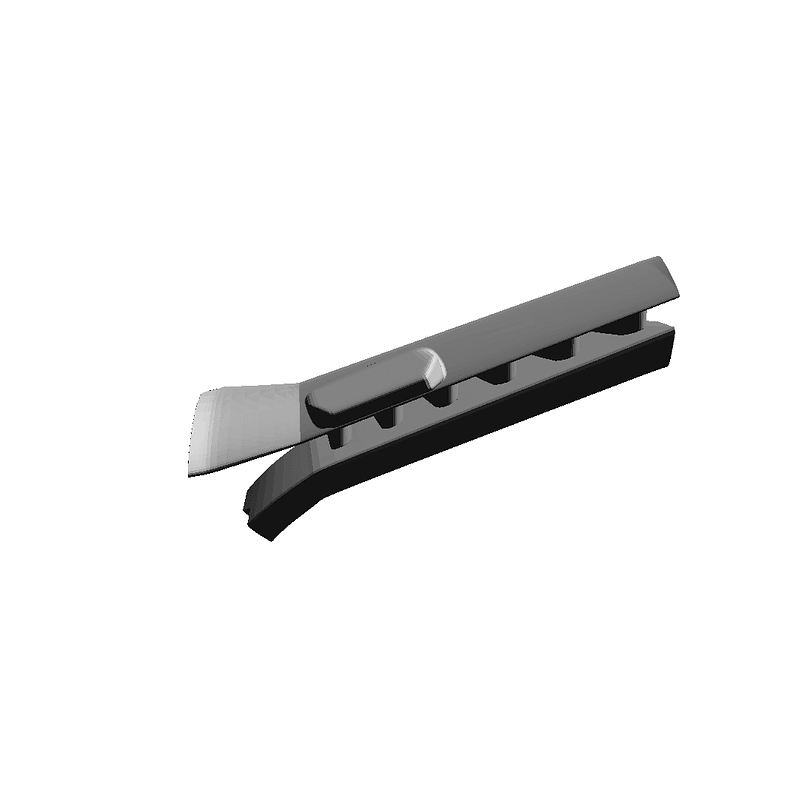
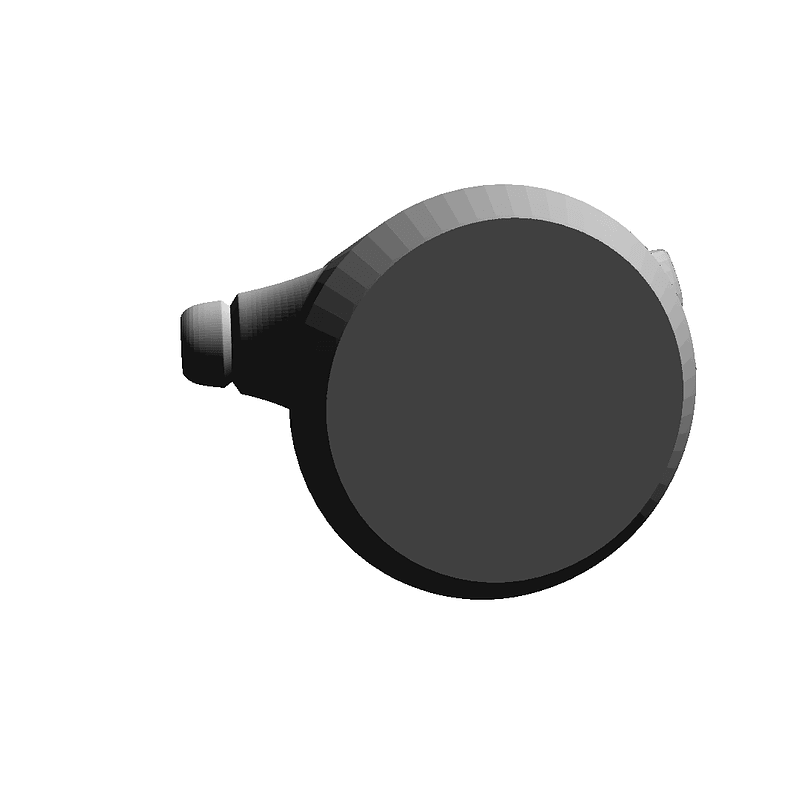
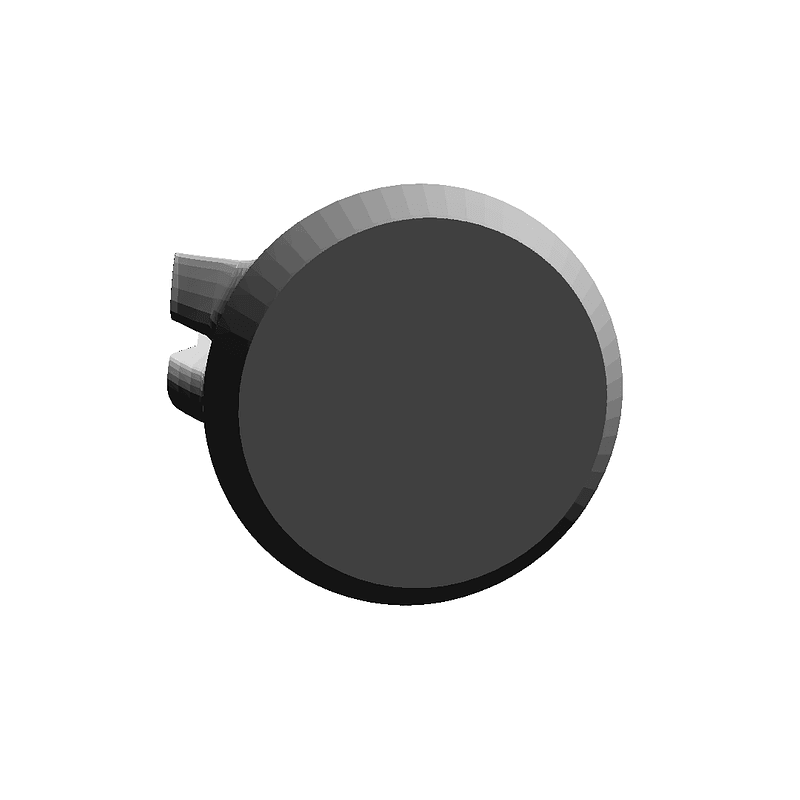
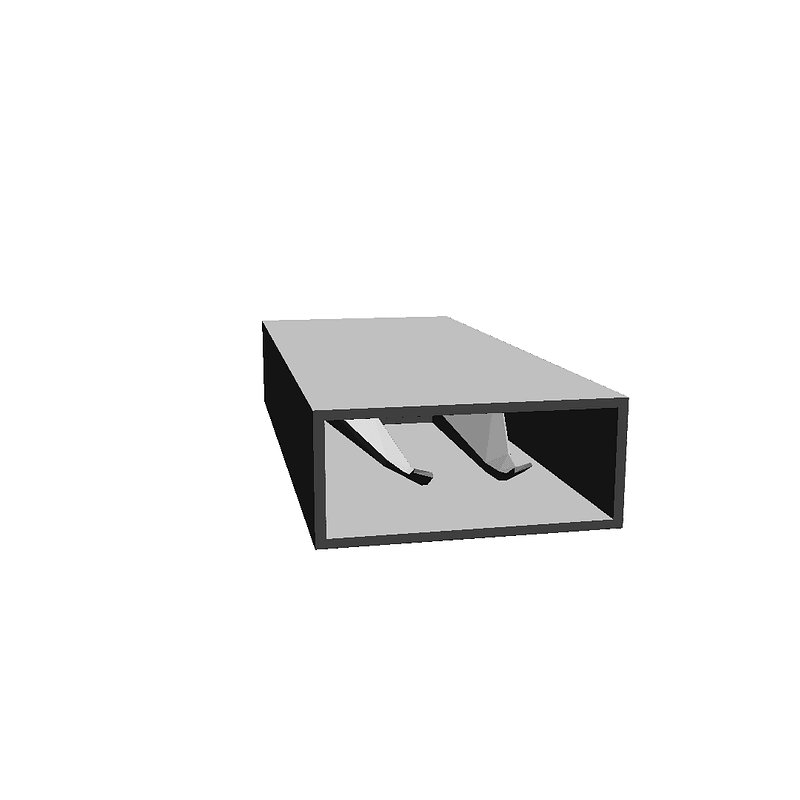
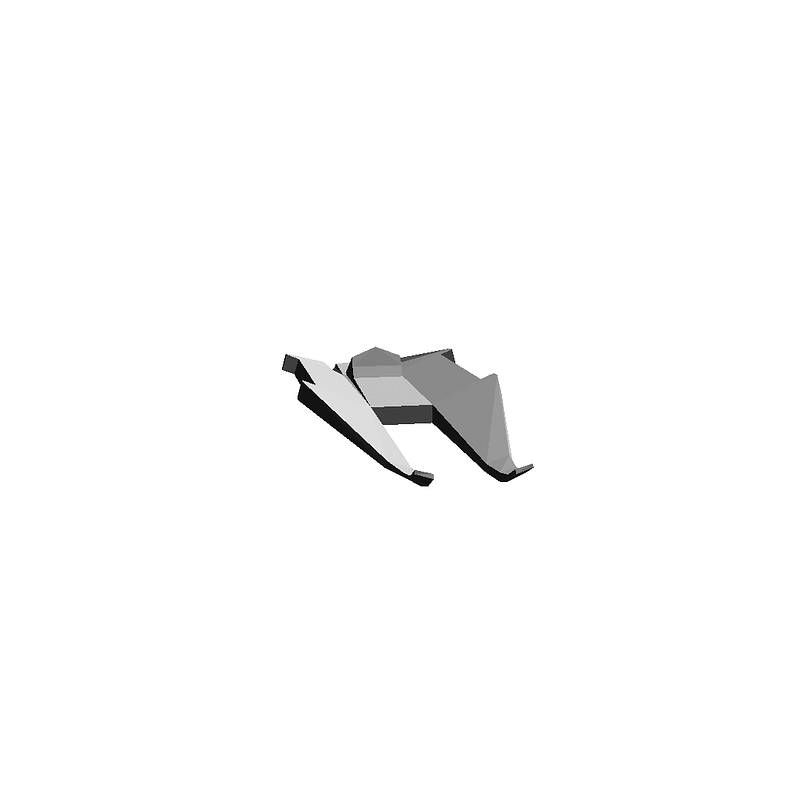
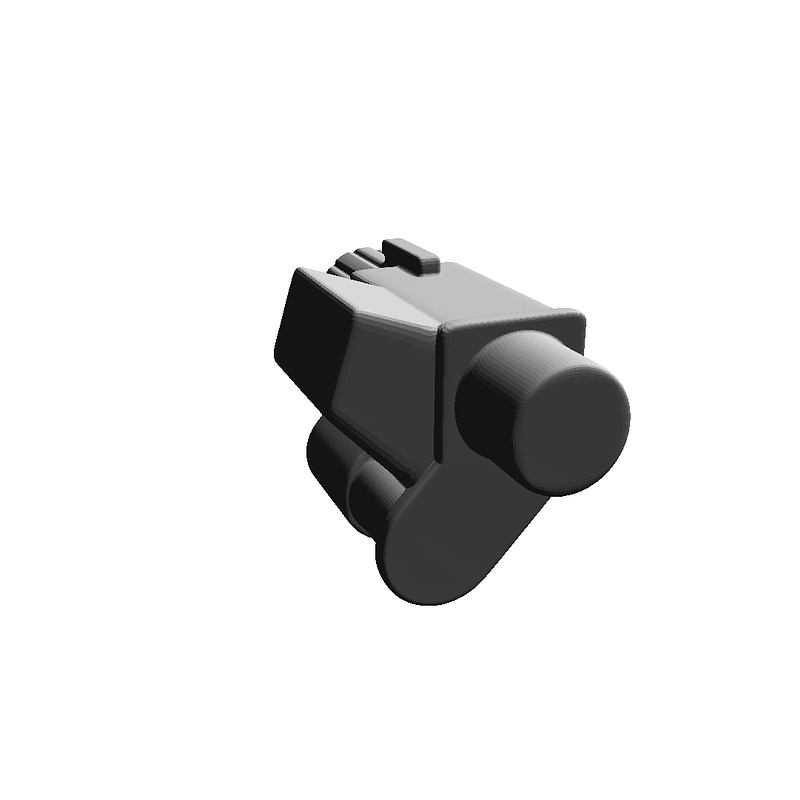
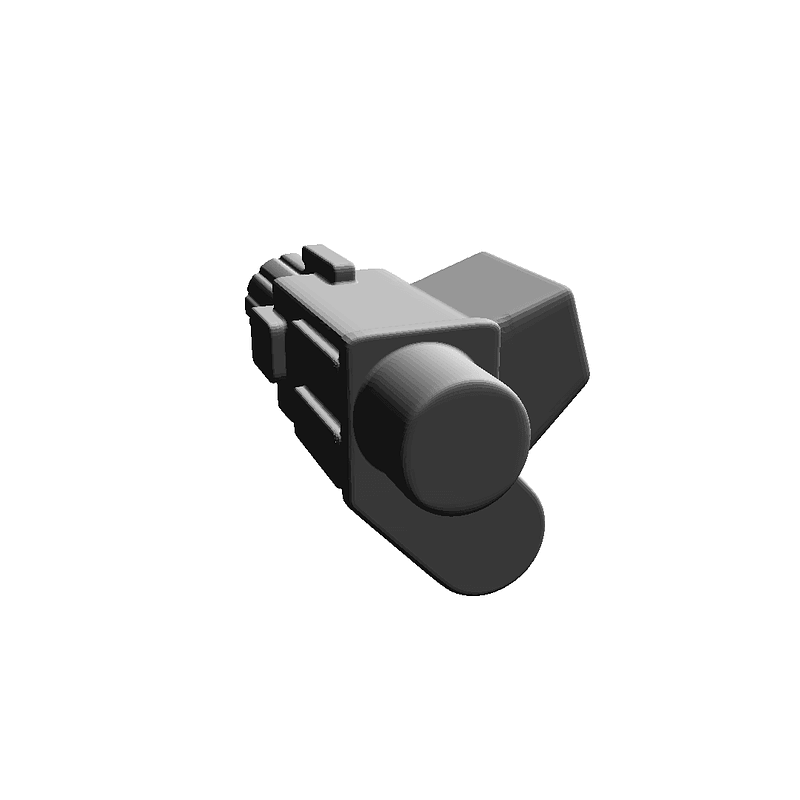
All the parts are oriented as if they were assembled, so you have to change orientation for printing. print central body -- I oriented it nose up two each: left gun and right gun attach guns The guns fit into slots in the sides of the body. The upper pair need to be shaved or forced to get them in place. I use plastic epoxy, but any glue can work. print & attach wings upper left lower left upper right lower right I rotated the wings so the trailing edge was flat along the build platform. print & attach engine cowls matching each wing print & attach thrusters 4 x forward 4 x rear I pointed the nozzles upwards. When attaching, align the flanges to the up-down and left-right axes. print & attach struts You need 8, so print the strut_x4 twice. These attach to the rear thruster flanges along a 45-degree angle making an X. print & attach fins 4 x large 4 x small These were hard to print because they are so thin. I had some better success printing the small one vertically inside a box. Go figure. They mate with the struts, the large ones pointing out, the small ones pointing in. I switched to superglue for these so I didn't have to hold them as long.
Loading...