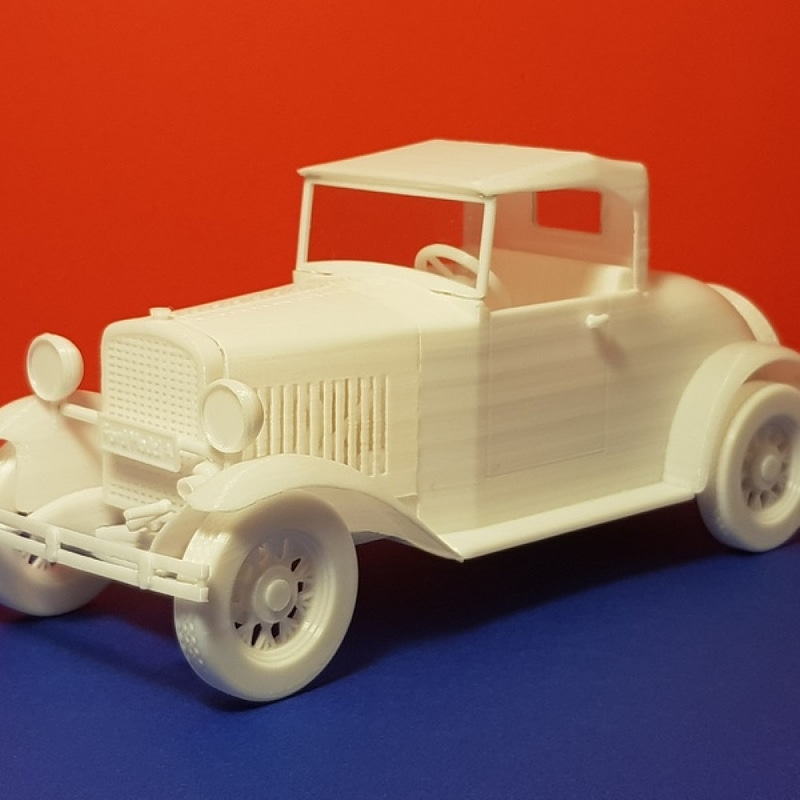
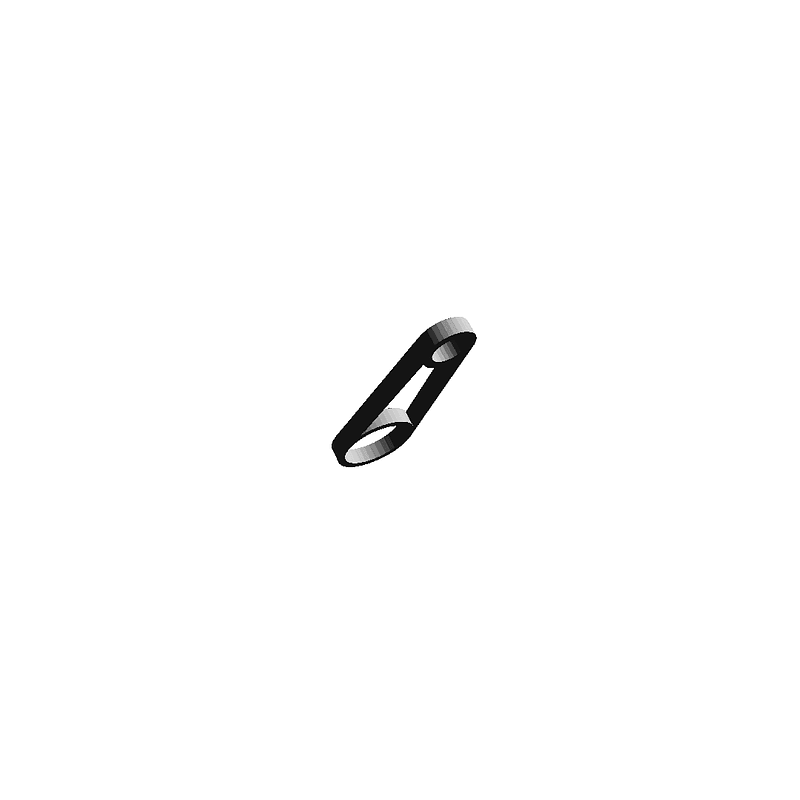
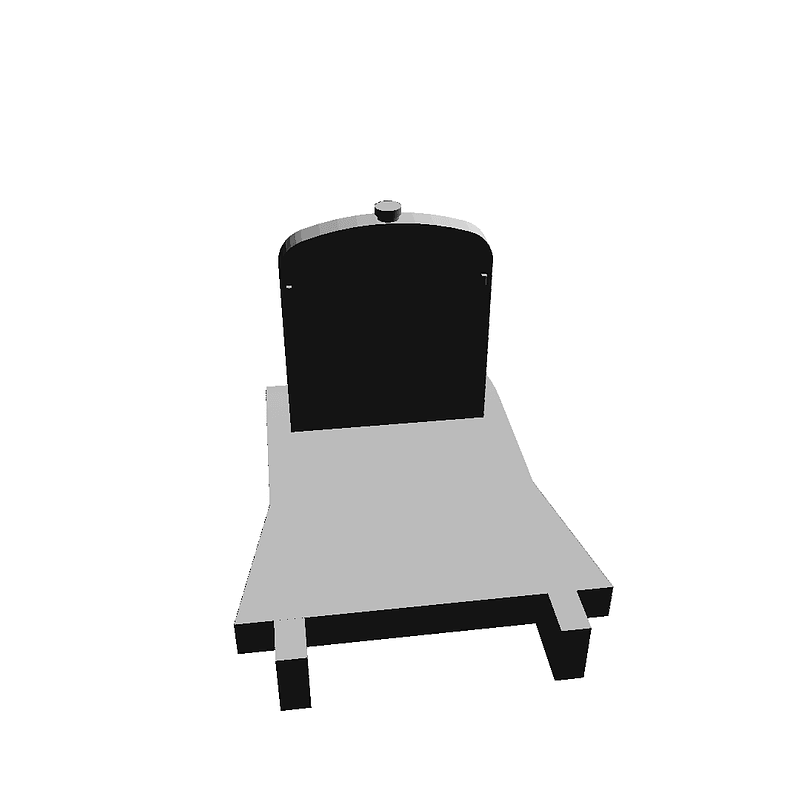
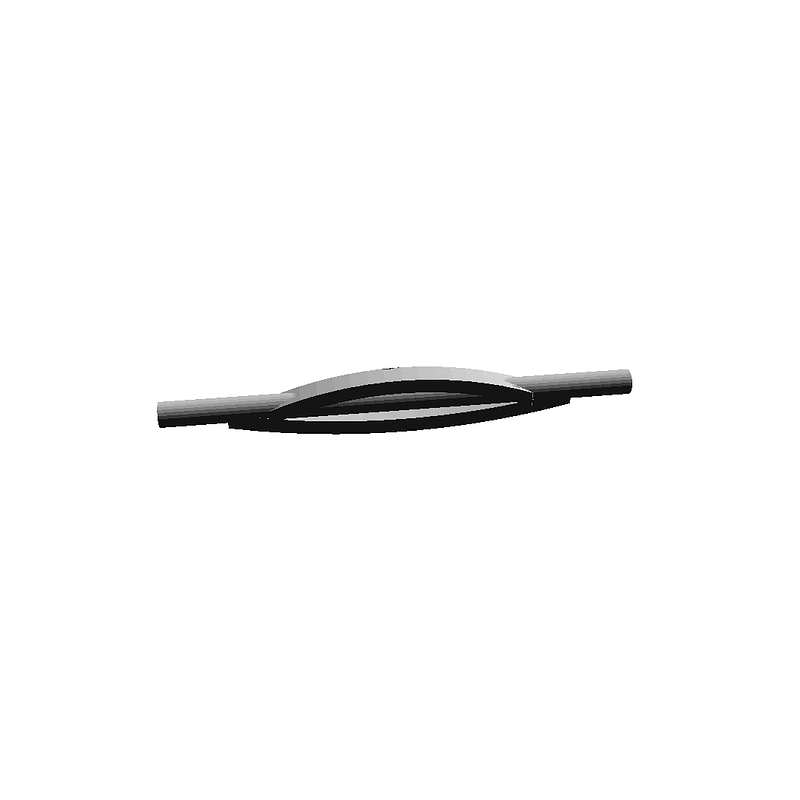
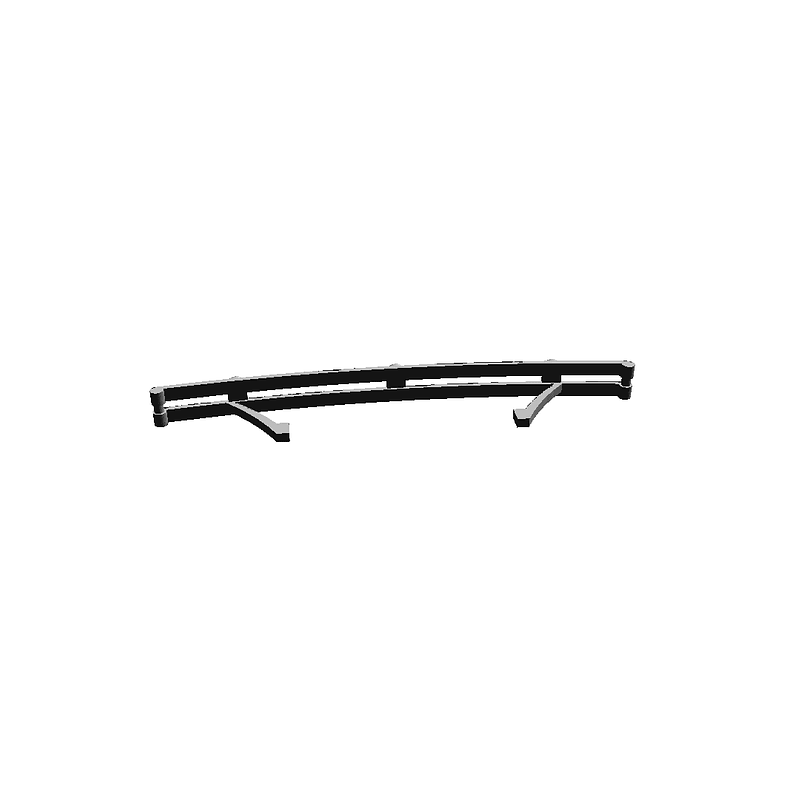
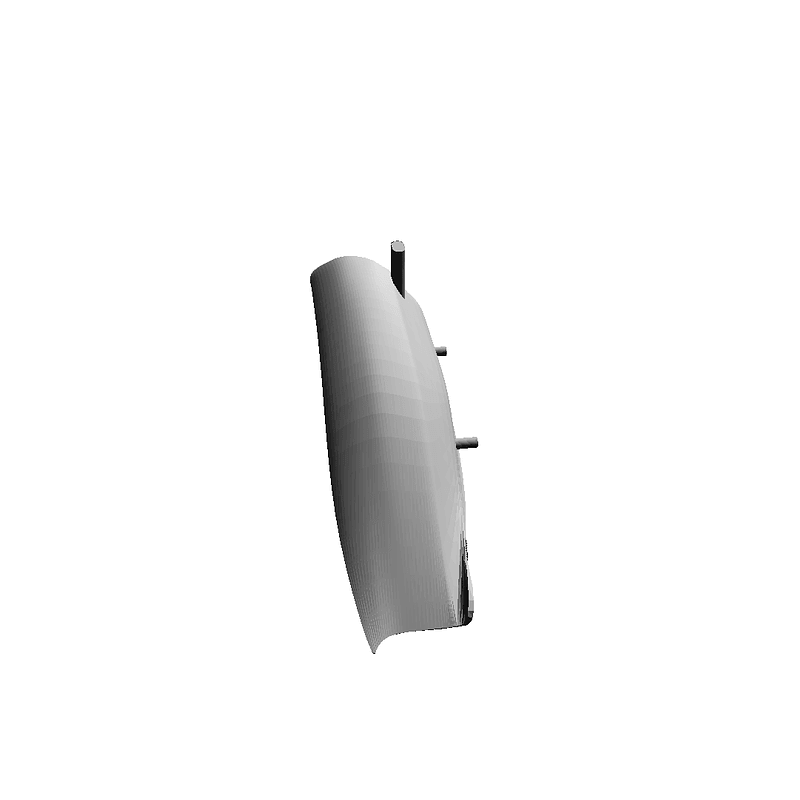
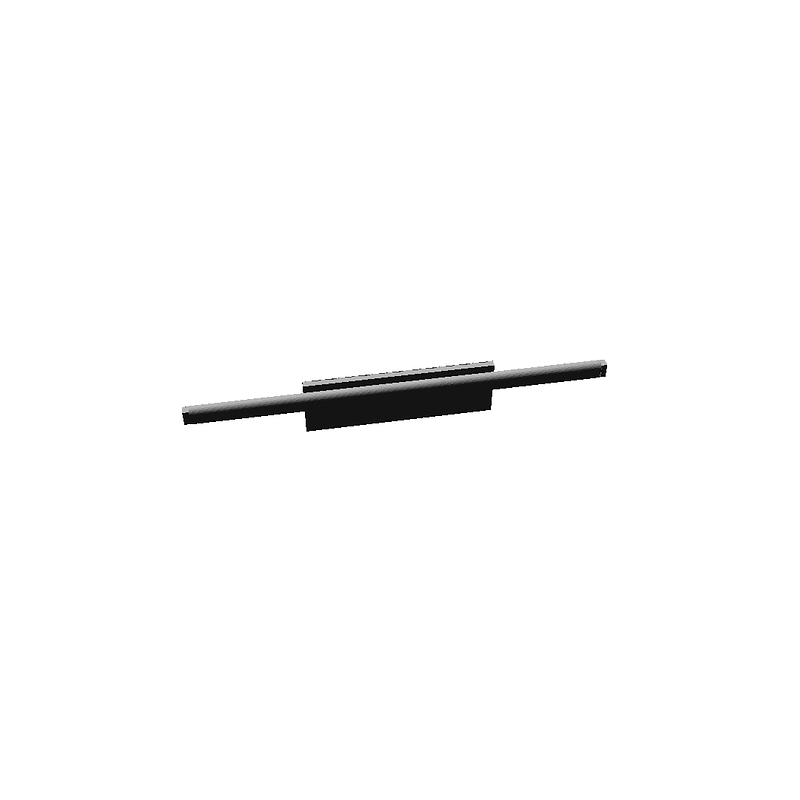
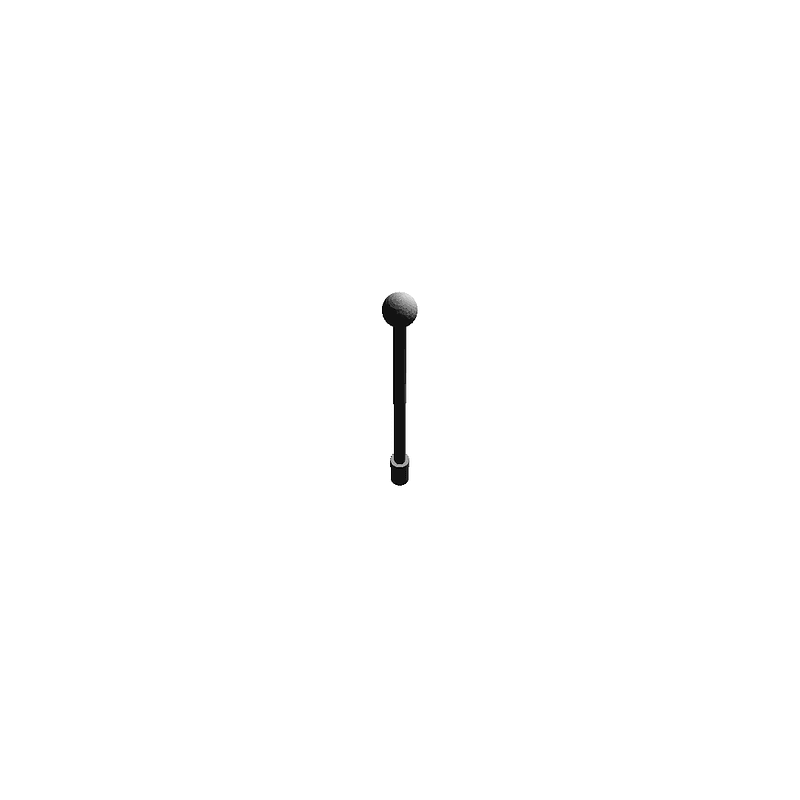
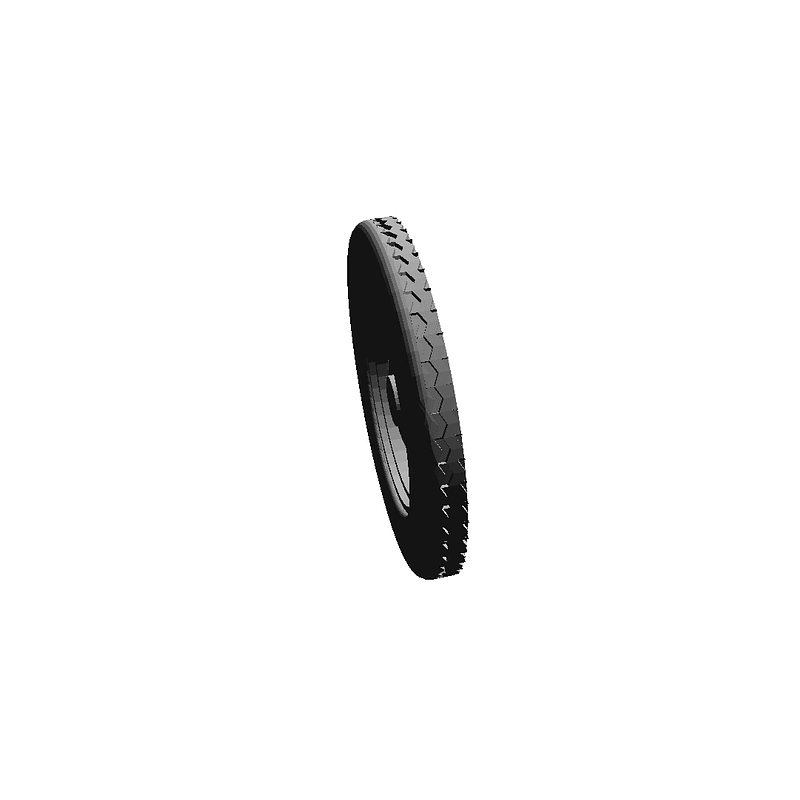
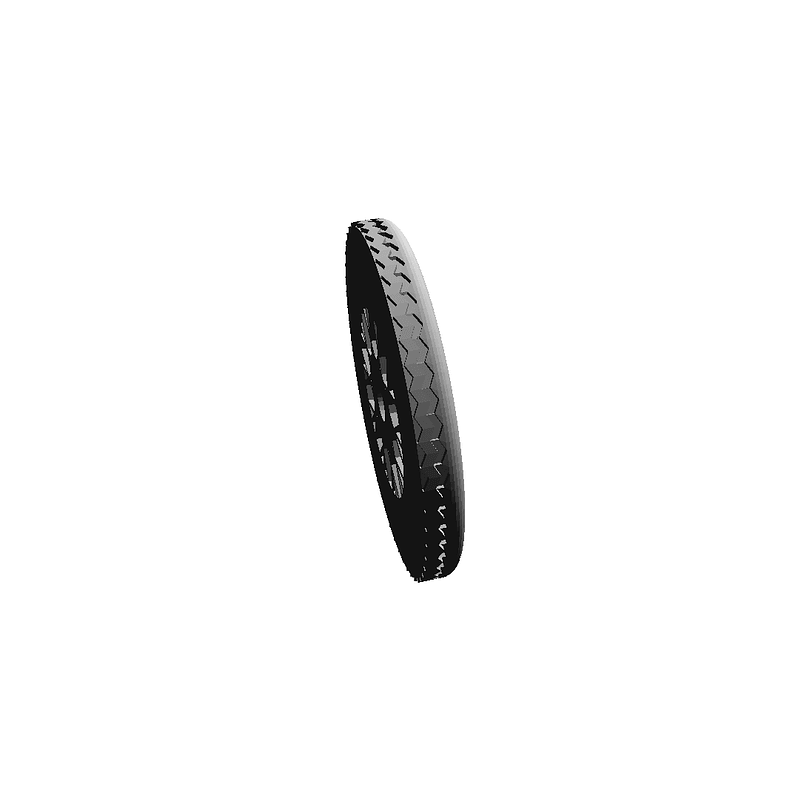
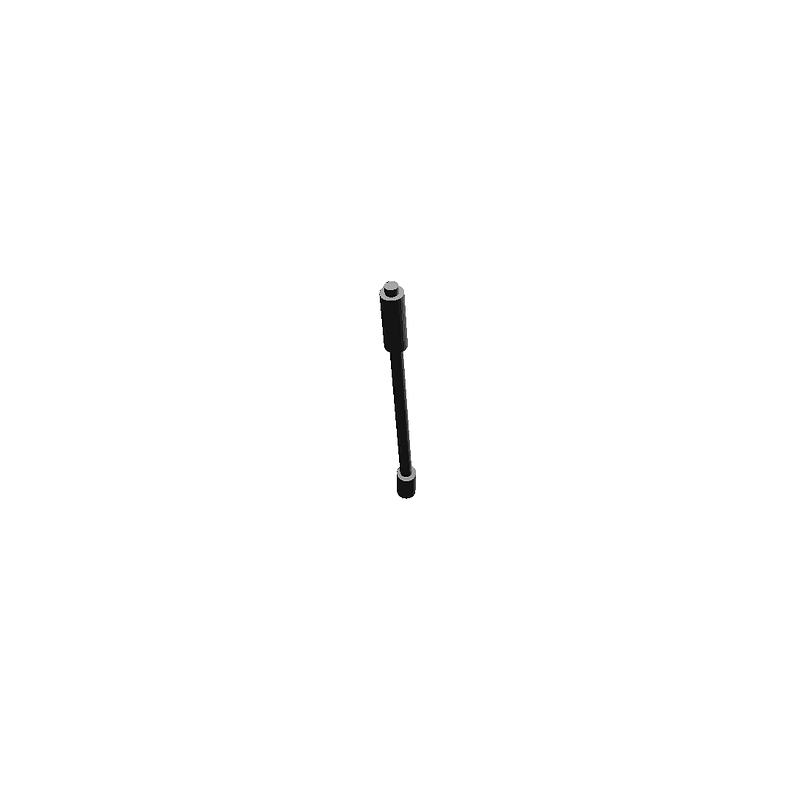
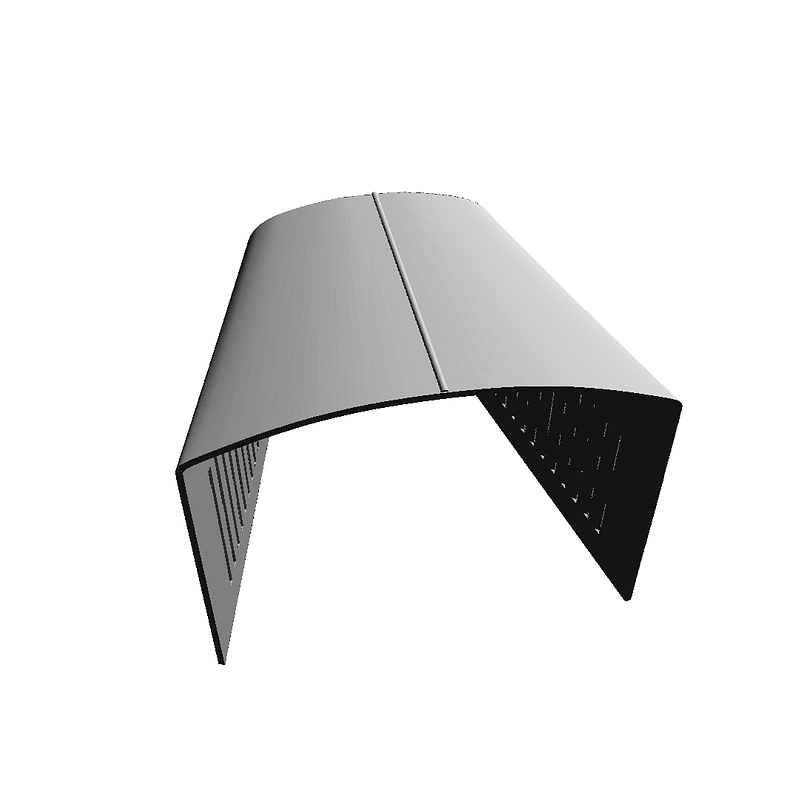
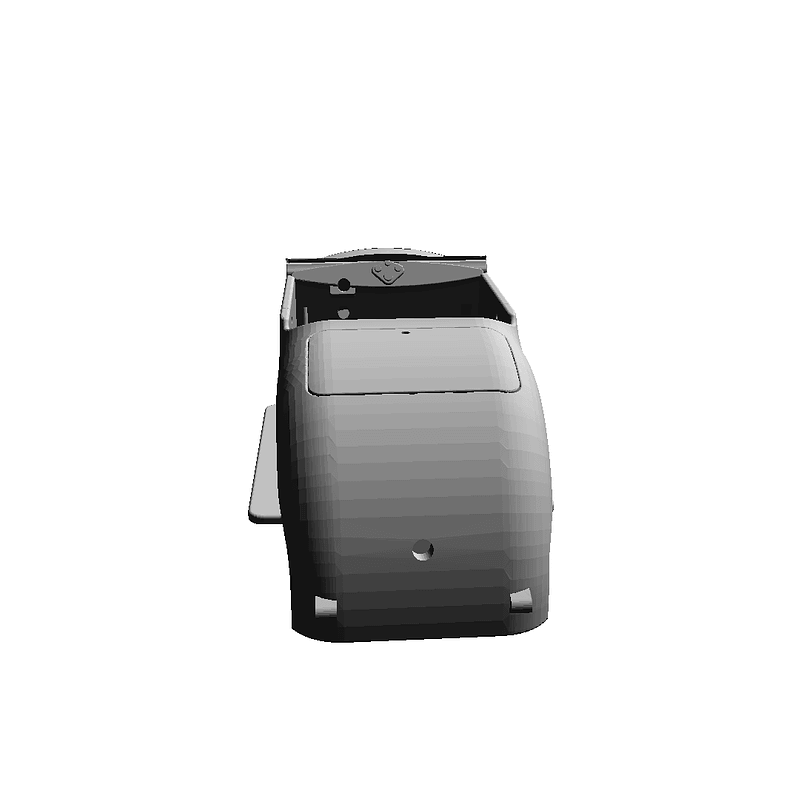
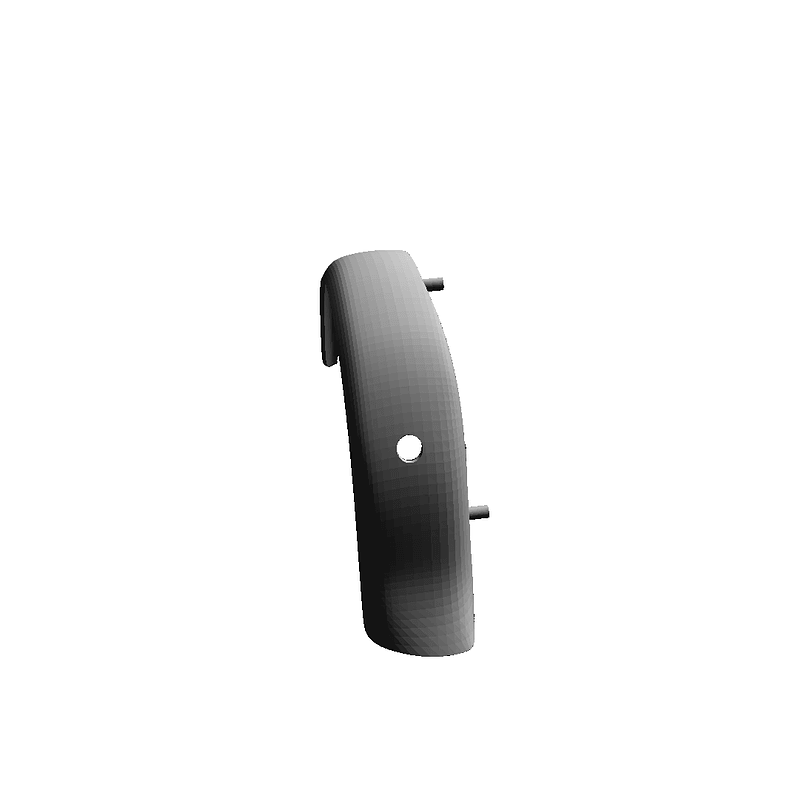
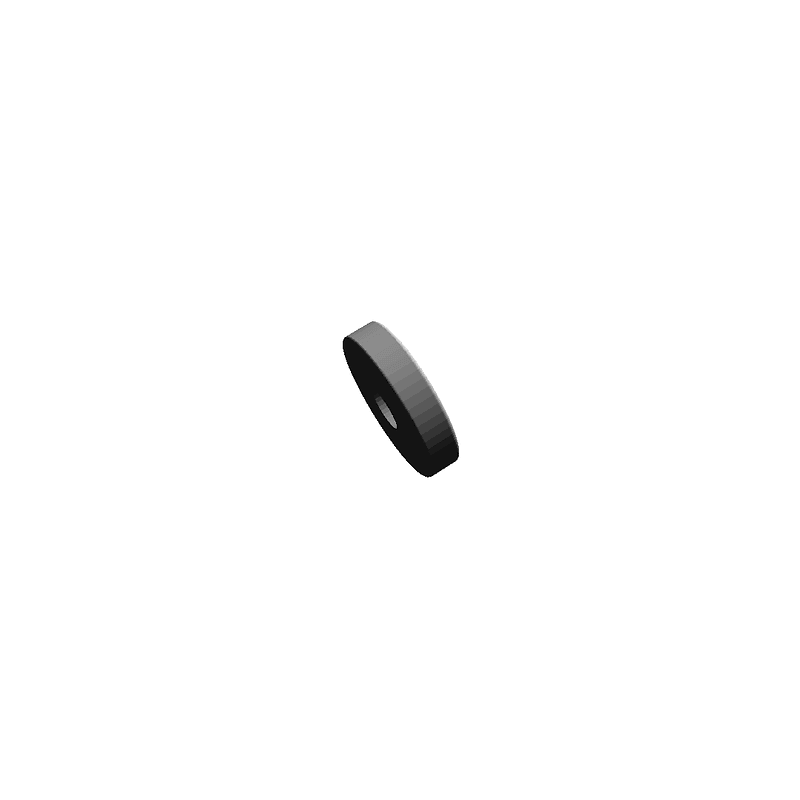
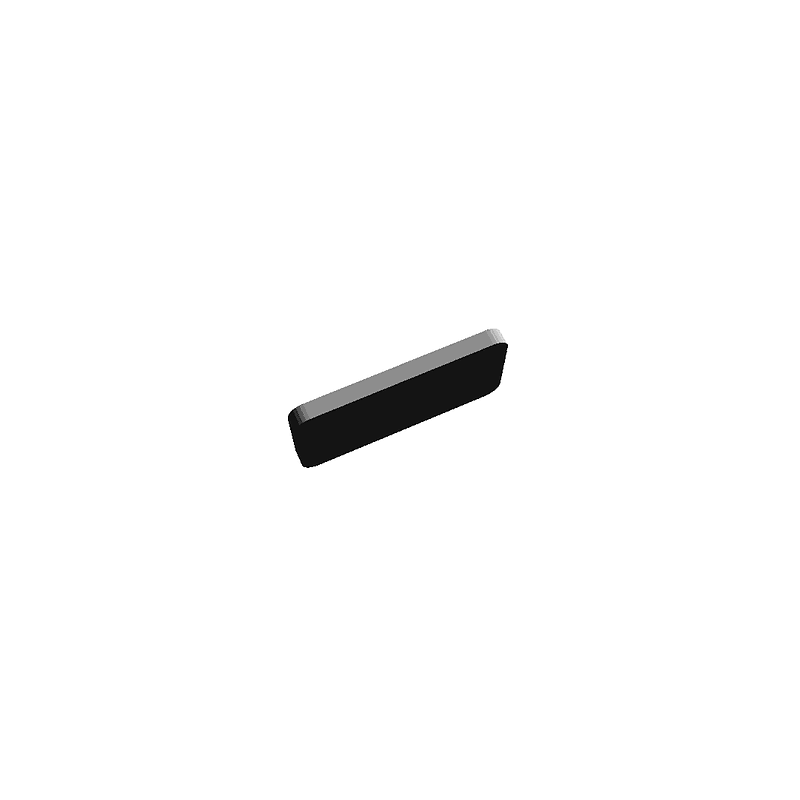
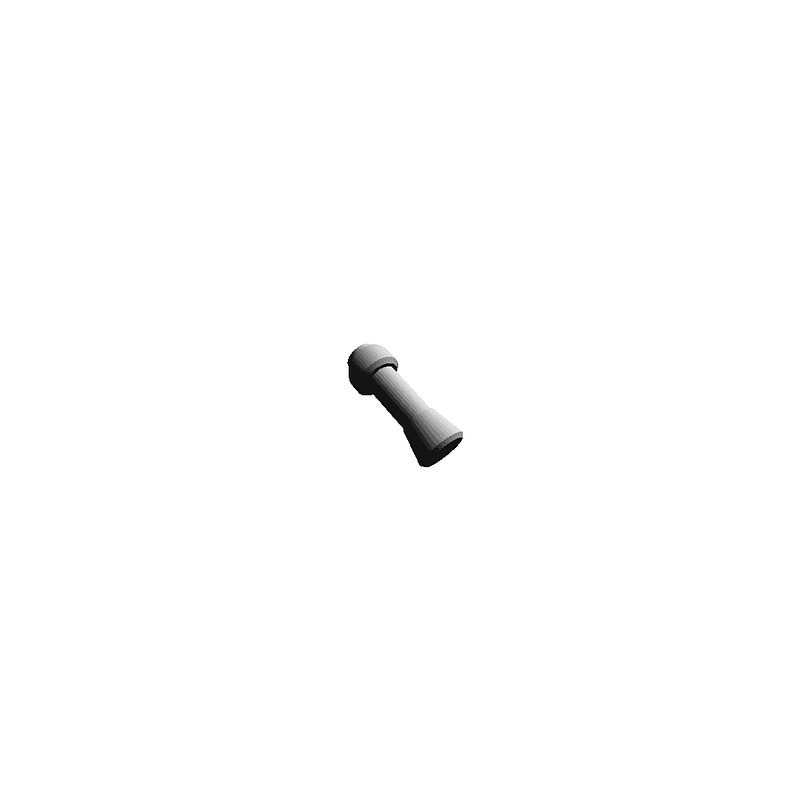
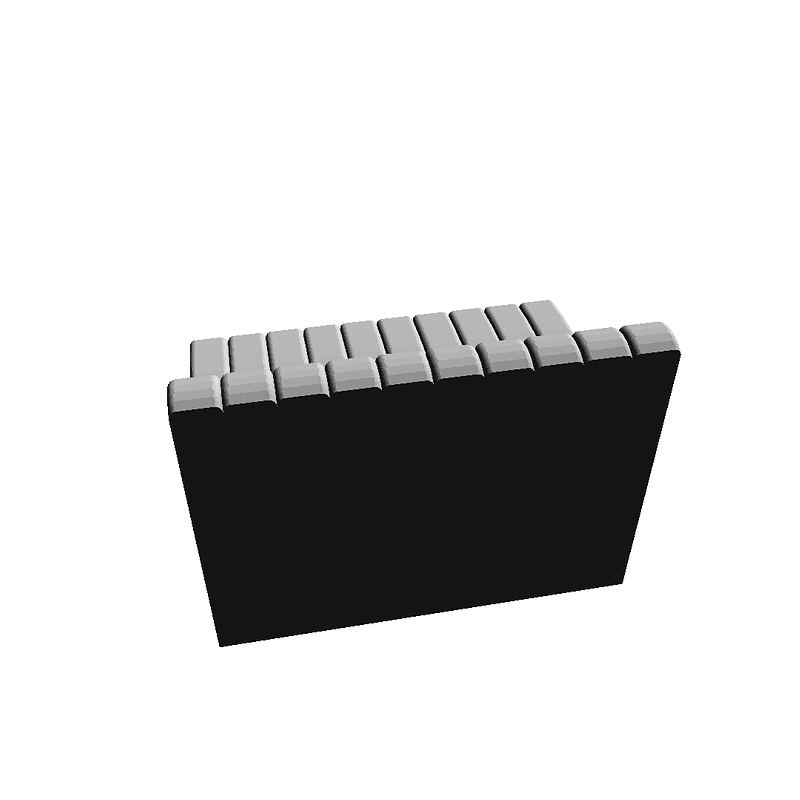
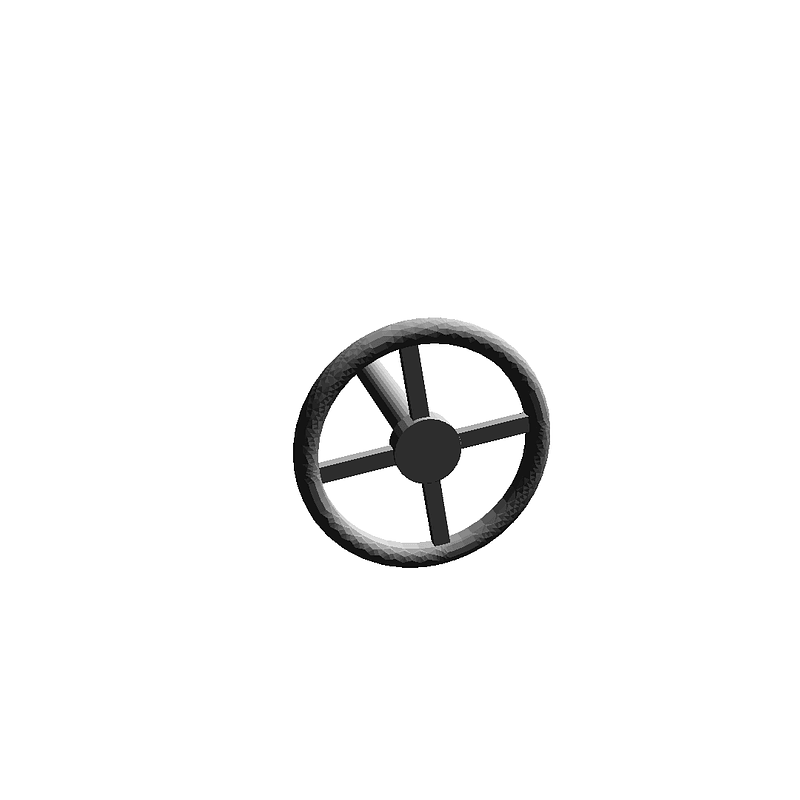
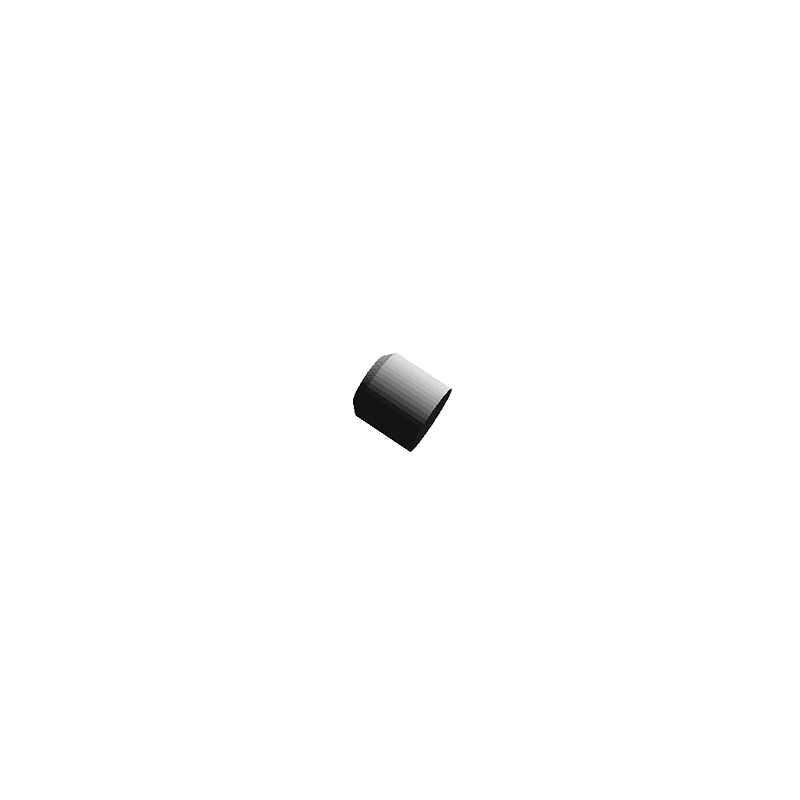
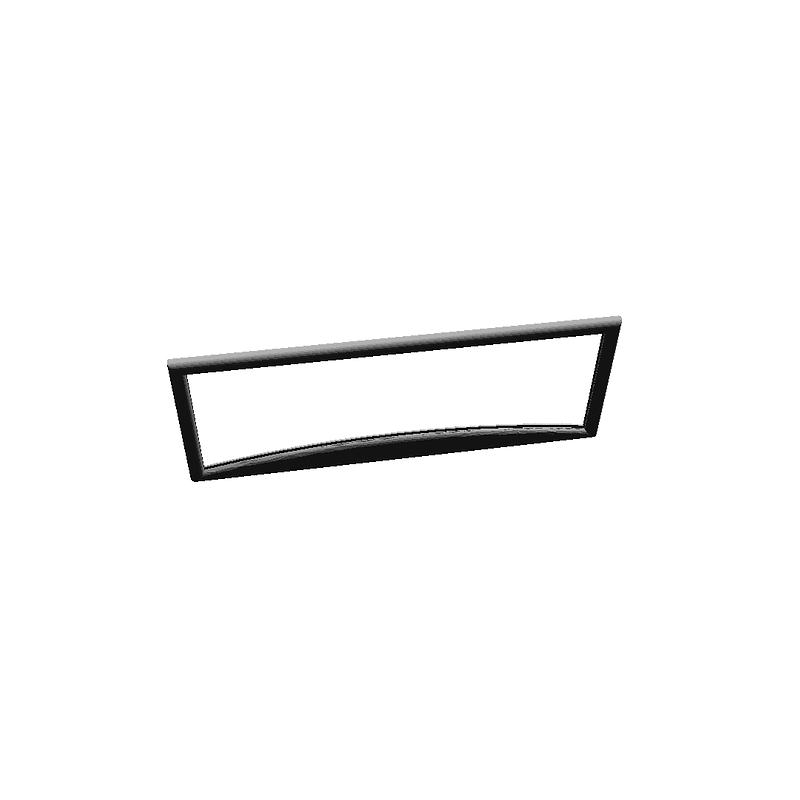
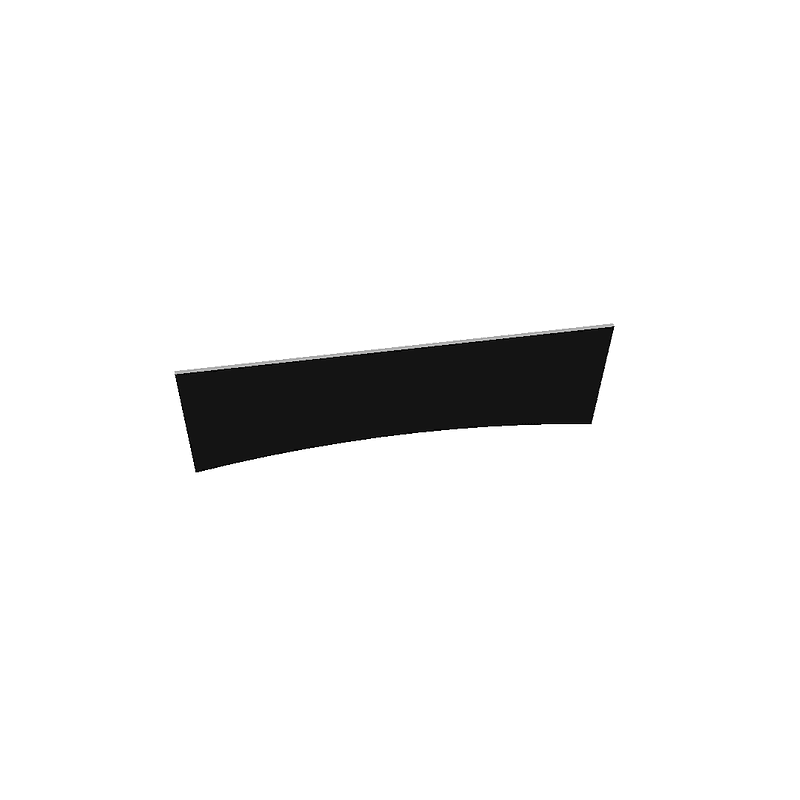
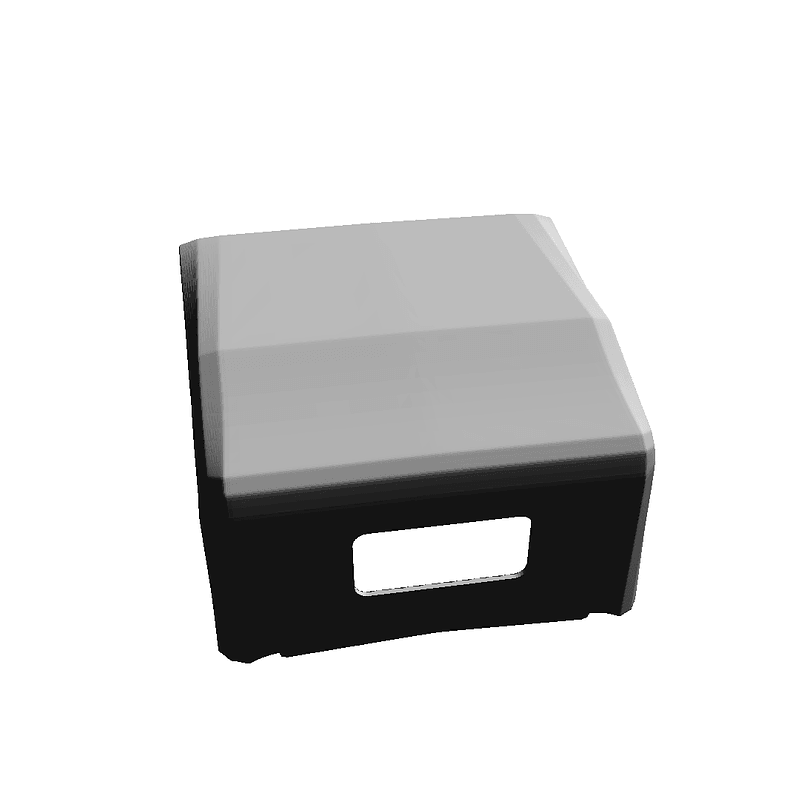
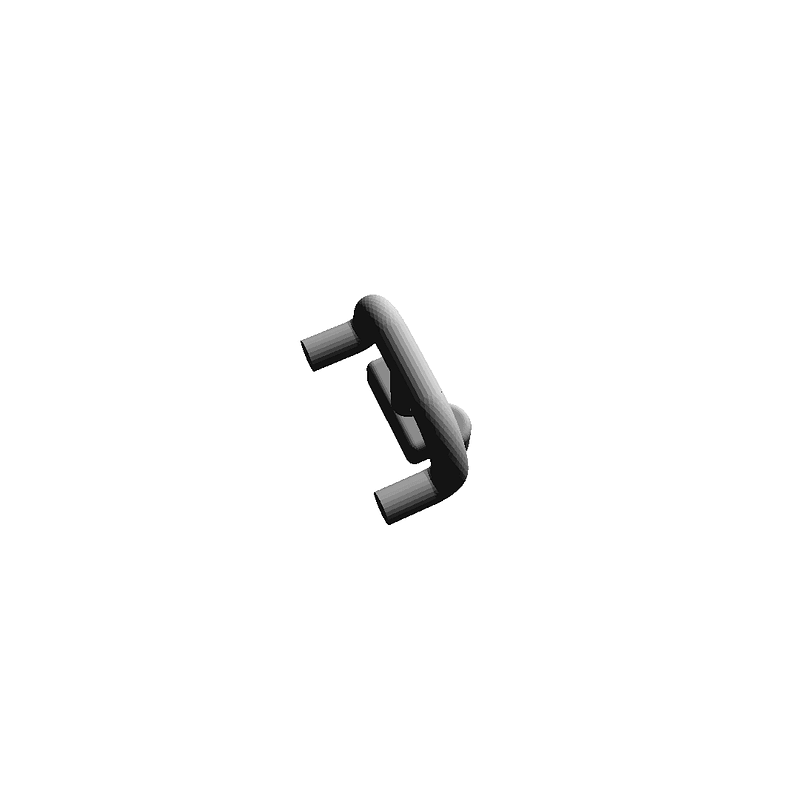
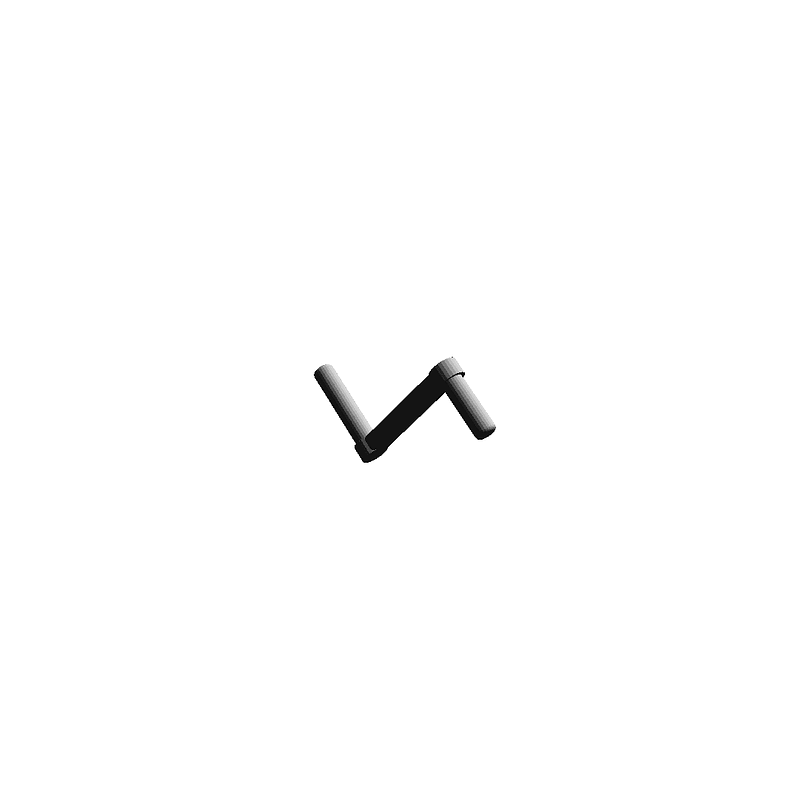
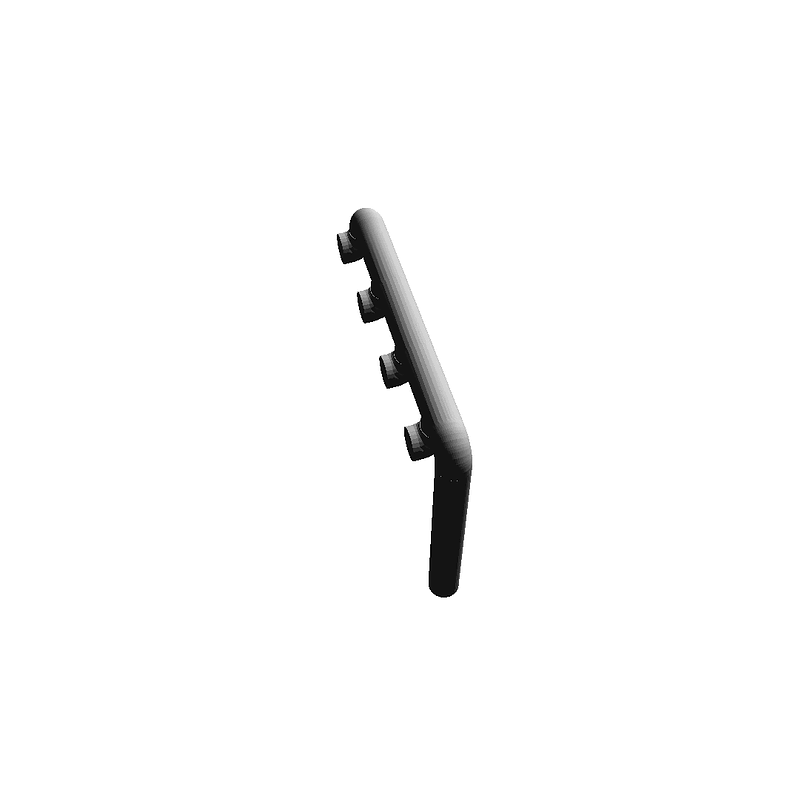
Print Settings Printer: Anycubic I3 Ultrabase Resolution: 0.2 mm Infill: 25% Filament_brand: Anycubic Filament_color: white Filament_material: PLA Notes: Fenders, canopy and bonnet thickness is about 1 mm: must be printed with brim or raft and supports but be very careful when removing them. Main body, half wheels, bumpers can be printed without brim or raft but they need supports too. For tiny parts as handles brim is a must. License plates must be printed face up and parallel to the printer bed, if you want to read the writing on them. Post-Printing Carefully remove supports, refine pieces sanding them and glue with cyanoacrilate. The model is fully static, sorry no moving part. When coupling the wheel halves rotate the external one until both the spikes AND the tread sculpture matches. As an alternative you could decide to merge the halves and print each wheel at once. The "brake master cylinder" and the "steering rod" don't have a groove or notch to be positioned in: look at the pictures for best positioning. The windscreen frame must be glued slightly inclined bacward: for best positioning use the canopy as a reference. Note: the model in the pictures was not glued with cyanoacrilate but all the parts were put together using UHU Patafix: my intention is to airbrush paint it and it is much better if you paint the parts separately. Maybe I'll post some pictures of the model once colored later on (if decorous enough!) How I Designed This I designed most of the parts in FreeCAD 0.18, but for the curved and complex shapes (fenders, bonnet, canopy) I used Blender. Once modeled in Blender, parts were imported back in FreeCAD, transformed in shapes, solidified and refined adding construcion pins and holes
Loading...