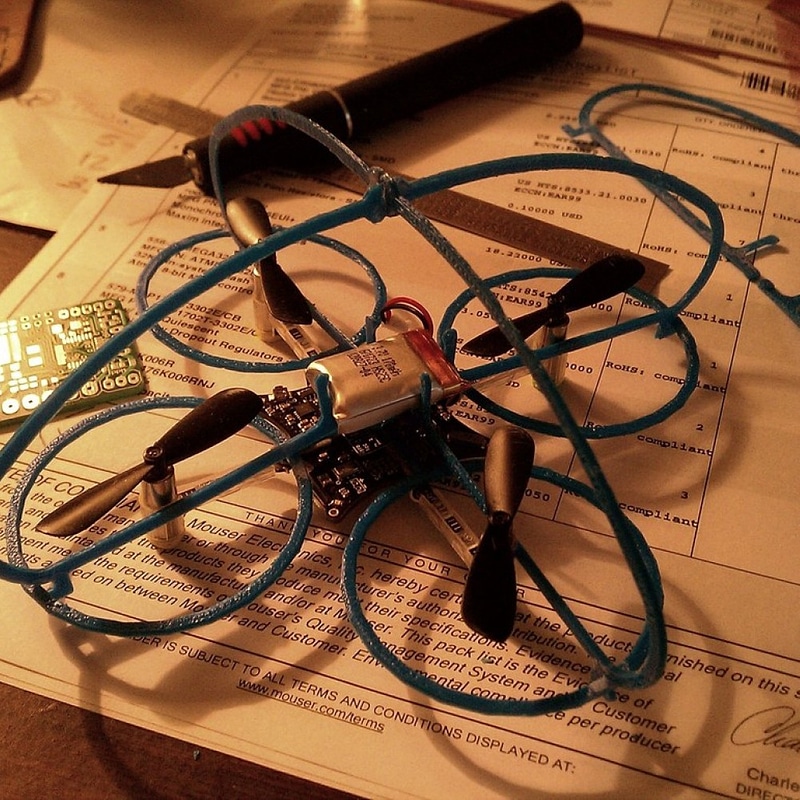
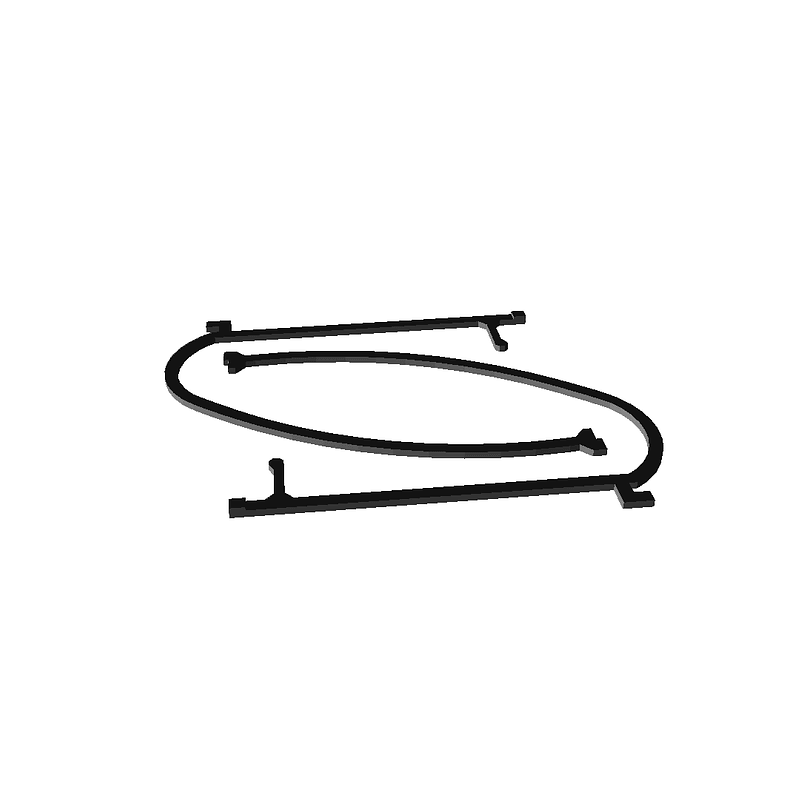
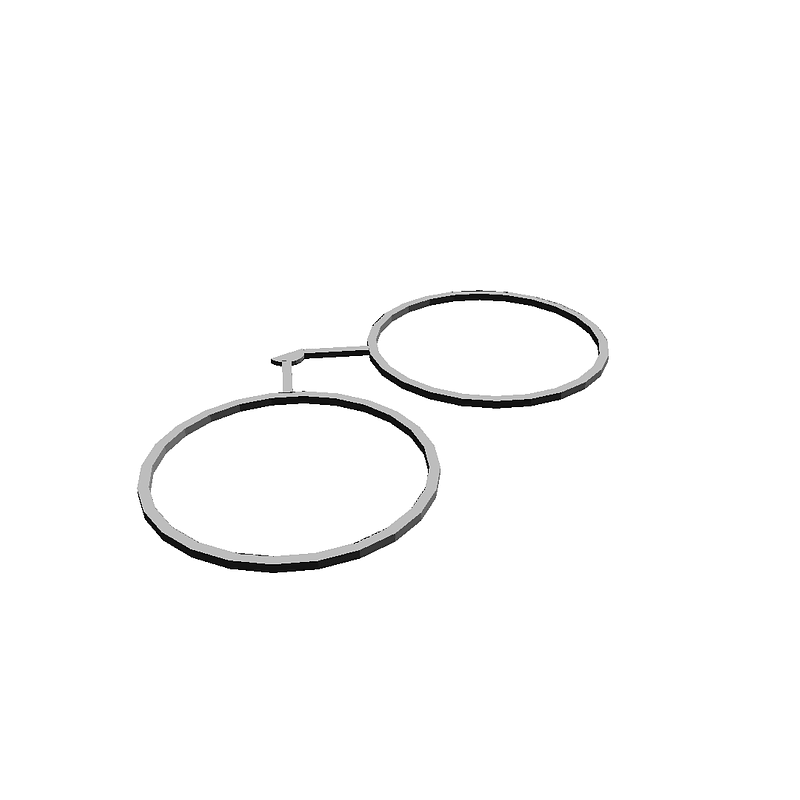
This add-on should work with the printed frame mounted on top of the pcb or the bottom. There is a lot of clearance within the Cage. Print out files: BumperWbattery #1 and #2 (cages). If you print in ABS these glue together well with acetone. Or use the glue of your choice. The BumperWbattery (cage) files each contain a single detail in two parts. They mate and are then to be glued. Print and glue each file individually before installation. When the two cage parts are glued together and dry simply clip the bumper cage onto the Bitcraze Crazyflie frame. Note: my cage fit is not the best yet but it works well if you use a little double back tape on the pcb and a touch of glue between the cage pieces and the printed frame. Do Not use glue on the pcb frame. This way you can easily replace broken cages. If you do not need the battery holder just cut off that feature of the bumper cage. I like the Battery holder: I measured the cage holder to my flying battery and I've not tested it with other batteries yet. It does hold mine quite well. Flying: With this setup my copter flies very stable and manageable. With the Bumper Cage the Crazyflie isn't quite so crazy. But, then I'm a beginner. ;-) --- I also noted that my battery isn't visually centered yet, the Crazyflie is still balanced. Balance: You can check by picking up the flyer with your fingertip under the top nub of the cage. The flyer should hang level. Happy crash.... er... Flying!
Loading...