Log in
All resources
Create a design
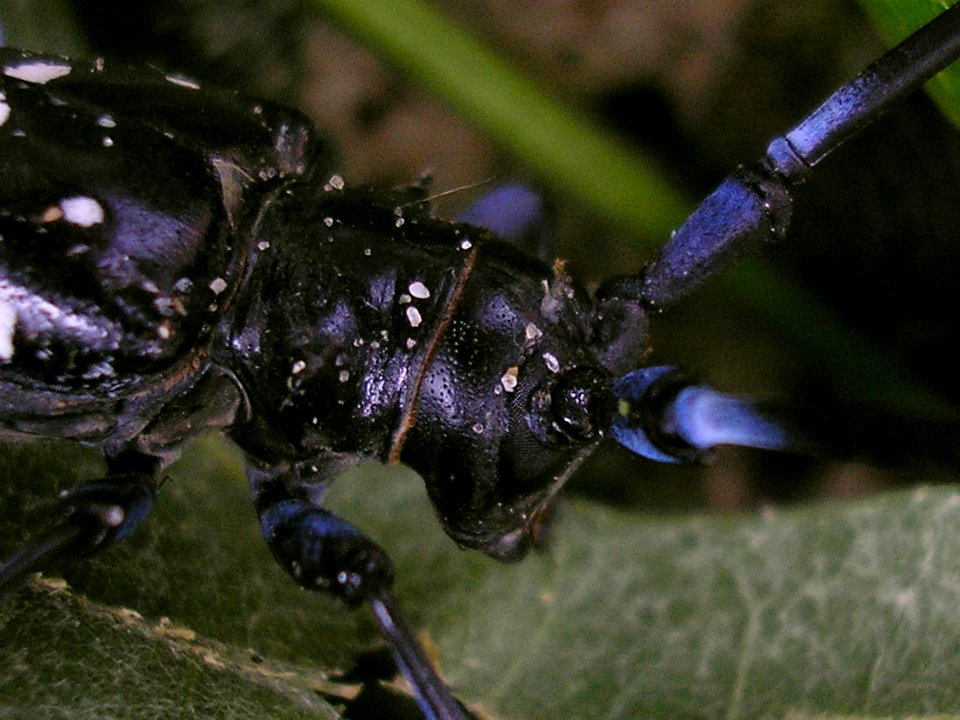
4 Free Photos of Anoplophora Glabripennis Anatomy
animals
insects
bug
cc-zero
coleoptera heads
coleoptera pronotum
p4b anoplophora glabripennis
p4bkever
pd-self
starry sky
animals
insects
animals
insects
starry sky
coleoptera
starry sky
coleoptera
1 - 4 of 4
/ 1