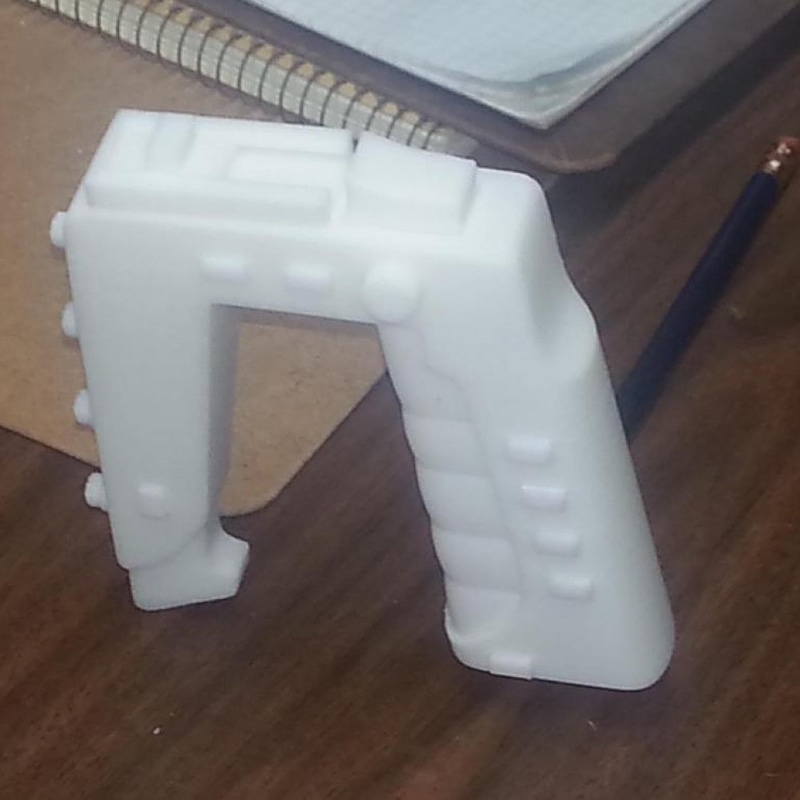
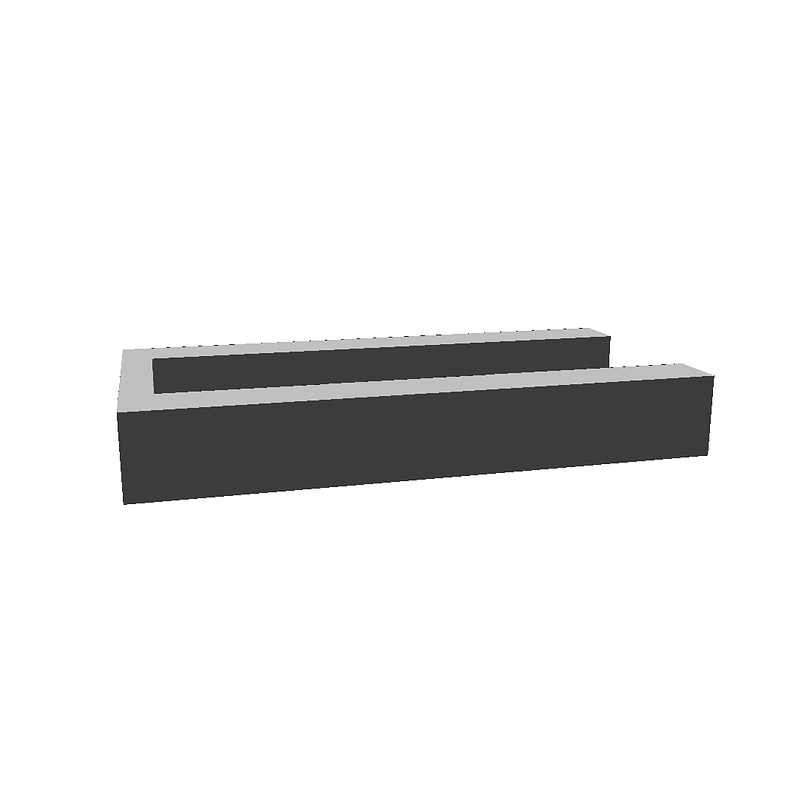
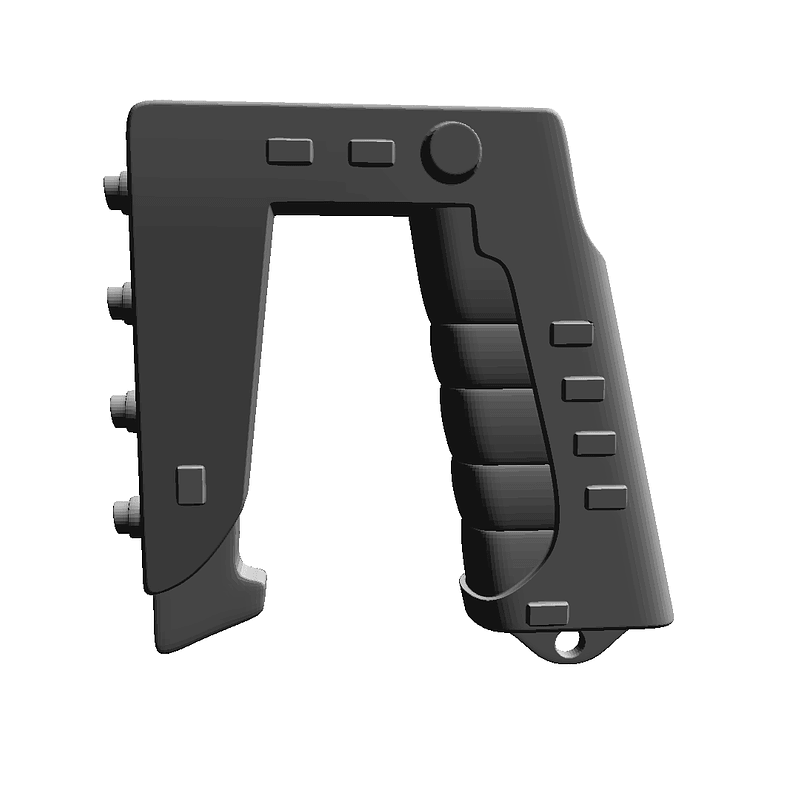
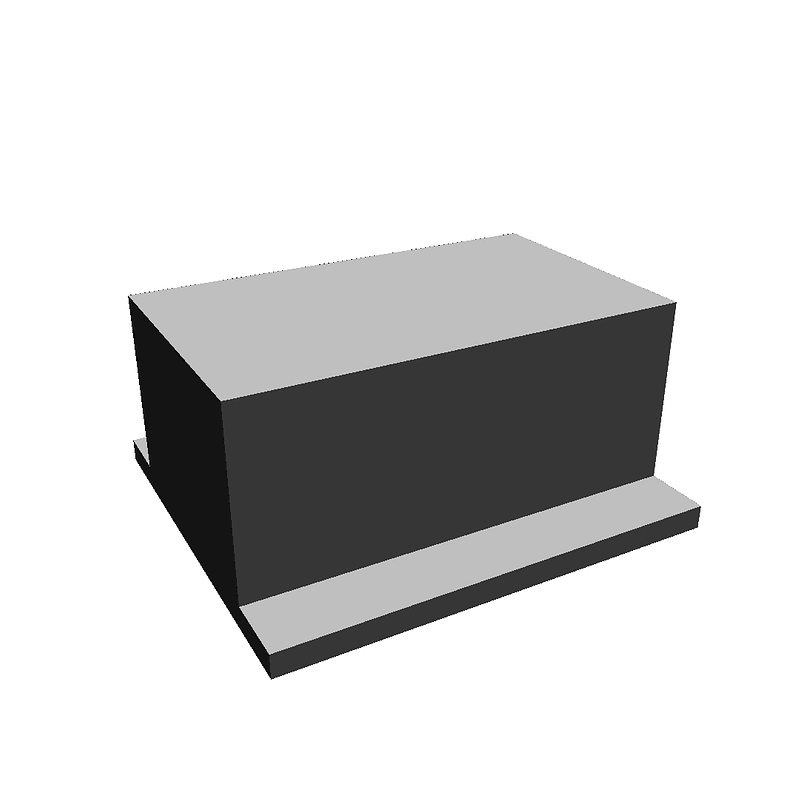
Print the gun body upside down. This puts the top of the gun against the build platform and minimizes the need for support. The trigger button can print without support and is glued into the slot on the top. This is all that's required for the Mk I. For a Mk II gun with the stun/kill switch, print the carriage and one of the two slider styles. Use a color printer to make the STUN/KILL label for the inside of the carriage. Insert the slider and glue the carriage to the top of the gun. Painting: 1) Start with a glossy black base coat. Make sure all the plastic is well-covered and the paint is completely dry before continuing. 2) Mask off the black parts of the gun: the handgrip, the trigger button, the hook at the bottom front, and four boxes on each side. Use pinstripe tape to mask off the black lines on the side of the body. 3) Paint with sliver metallic spray paint. This can be done fairly lightly, as the black base coat will enhance the metallic look on the textured plastic. 4) Remove the tape and paint the remaining boxes and the knob using a small brush and colorful acrylic paint. When making the Mk II gun it can be useful to paint before assembling the slider to avoid getting paint on the moving parts.
Loading...