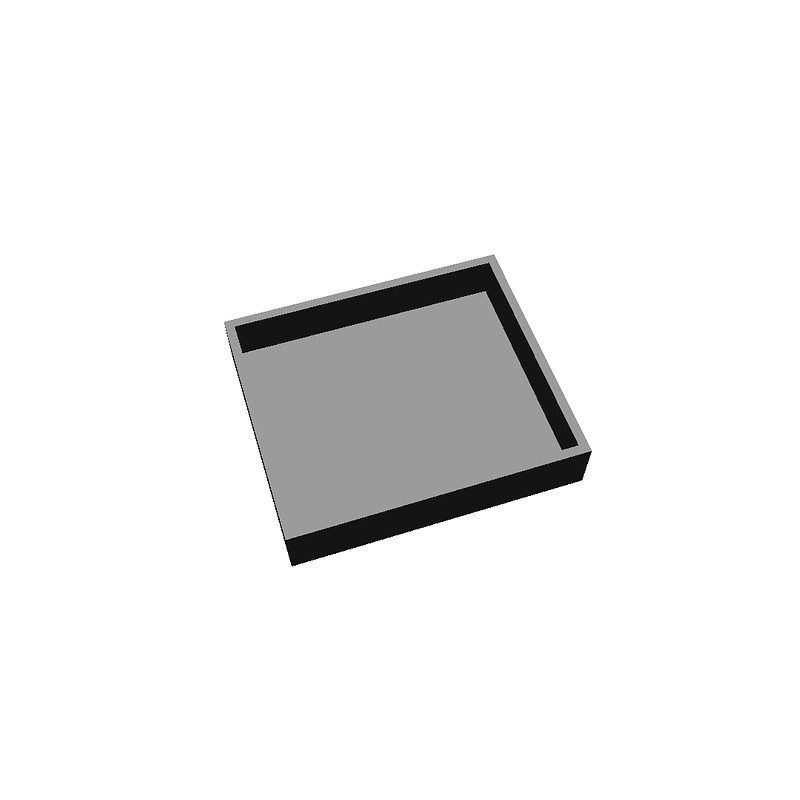
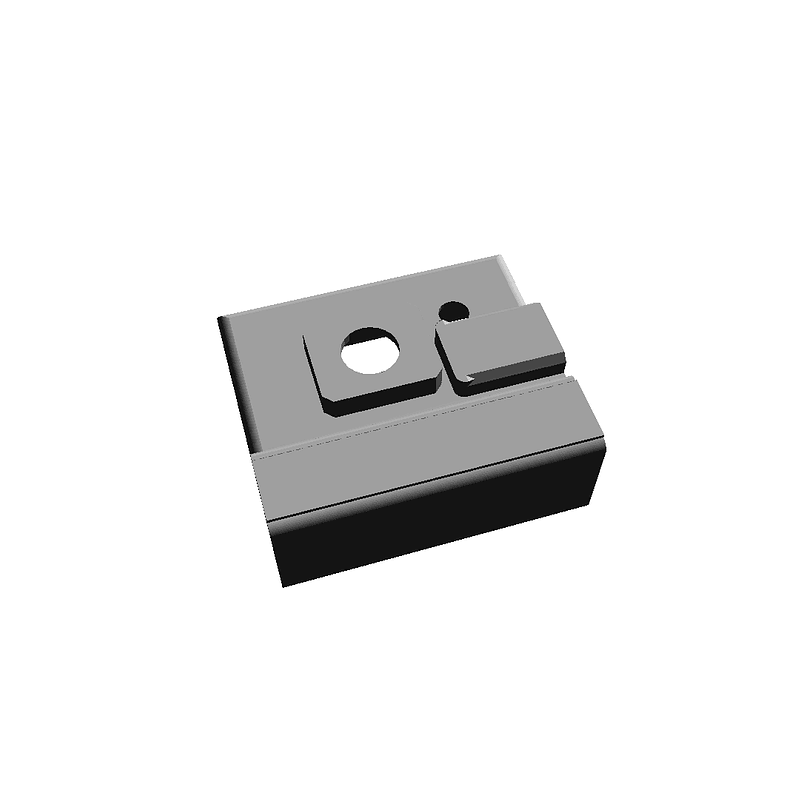
Best printed using clear PLA. IMHO Use support for the enclosure top. Warning: Do not cut out holes for the three Tester's Mode LED lights. The enclosure has covered recessed areas for the Servo Tester's mode LEDs and the lights will shine through the thin plastic over the holes. This will work for solid colored plastics too. Install the tester. Use a fine tip marker to mark the servo tester for the [S] signal, [+] positive & [-] negative pins. Insert the bottom and put on your knob. Note: My knob was a very close fit. I used Hot Glue and a clamp to hold it on. Once the glue was set the knob stayed on. Then, all was - good! Background: Originally made in 2012, I printed only one. I still use this item. The original had a problem with the mode change button hole location. I've revised the attached *.stl file for this button hole location but, I have not tested. For my own enclosure I used an exacto knife and cut out the plastic to locate the button. You can see this Hack in my photo.
Loading...


